There are several menus and features in Collaborate . Here we explore the various icons and menus to give you a clear idea of what Collaborate can allow you to do during an online session.
Understanding the Collaborate Menus
Participation Icons
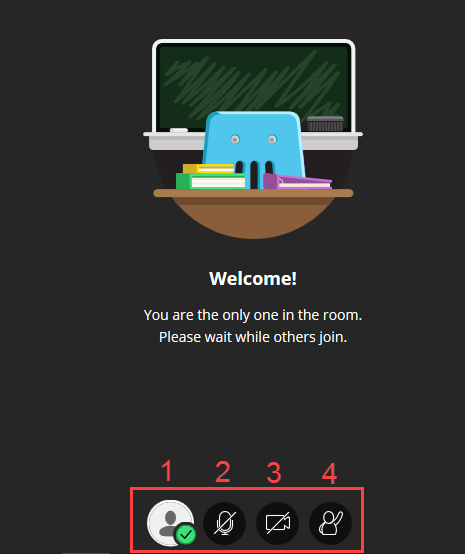
- Once you have joined a Collaborate session, at the bottom of the screen you will see several icons. The first icon on the left indicates that you have joined the session. The second icon allows you to share your microphone. The third icon allows you to share your webcam, and the fourth icon “raises” your hand which allows the moderator (instructor) know that you have a question.
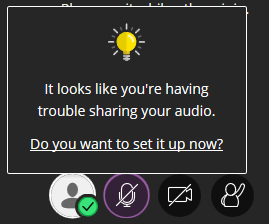
- If you have not set up your microphone or webcam, you may be prompted to do so if you click one of these buttons.
Session Menu
- To access the “Session Menu,” click on the tab at the top left of the screen.

- This is where you record the session, leave the session, or learn more about Collaborate by accessing the tutorial. Note: As a participant you may not have all of these options, for instance you will not have “start recording” as an option.

- To close the session menu click the X at the top left of the menu.
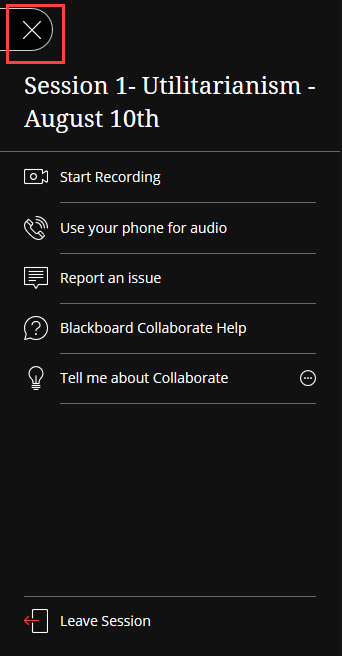
Collaborate Menu
- To access the “Collaborate” Menu, click the purple tab at the bottom right of the screen.
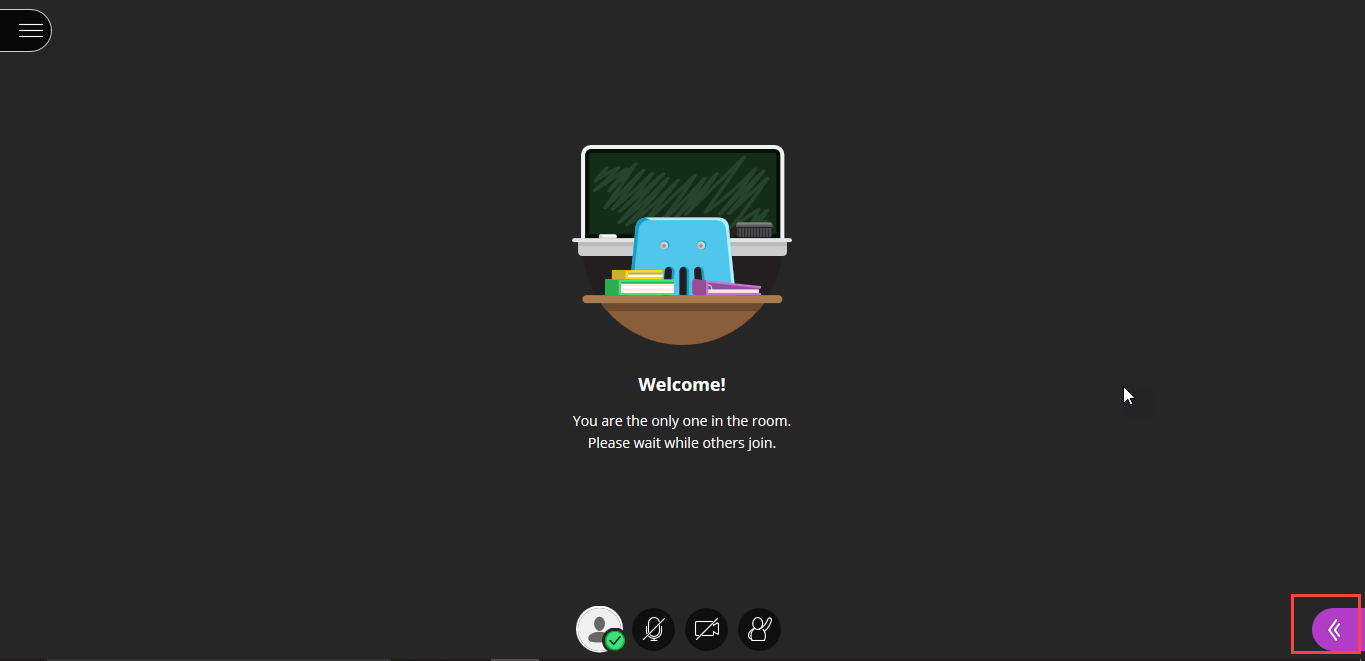
- The “Chat” page is the default page when you open the Collaborate Menu.

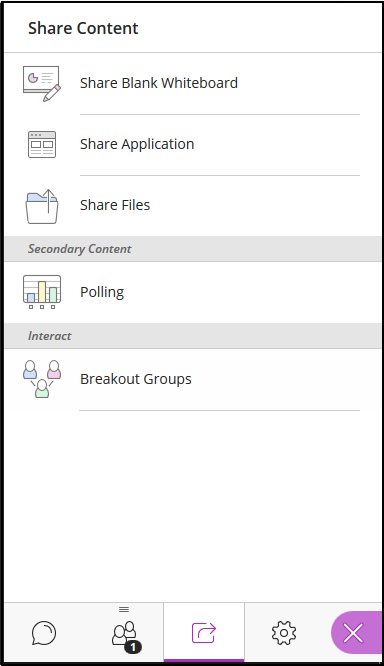
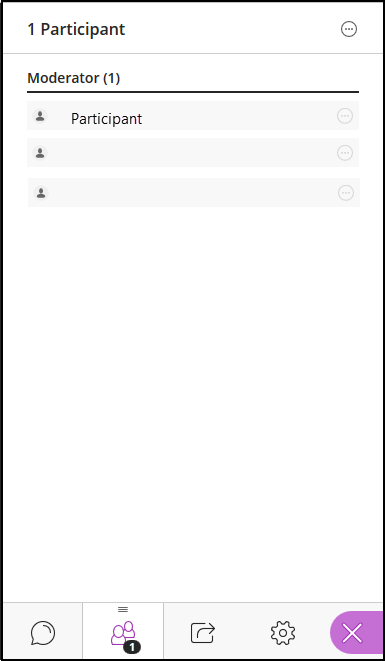
- There are also icons at the bottom of the menu. The first icon on the left is the chat page. The second icon is the participant’s page. The third icon is the share content page. The fourth icon is the settings page. The fifth icon is to close the Collaborate Menu.
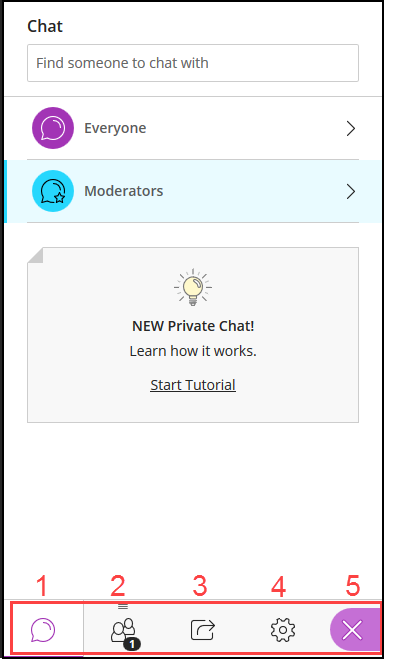
“Chat” page in Collaborate Menu
- This menu allows you to chat either with everyone in the session or allows the moderators to chat. You can also search for someone to chat with and privately chat with them.

“Participants” Page in Collaborate Menu
“Share Content” Page in Collaborate Menu
- This menu allows you share content with participants in a session. You can share (1) a Blank Whiteboard which is a blank page on which students and the moderator can write or draw, (2) an Application such as a Microsoft Word, YouTube, a web page, etc. or your entire computer screen, (3) Files such as a Word document or a PDF. This is also where you can also conduct Polling of the participants and place the participants into Breakout Groups to work in smaller groups within the session.
Want to learn more about this types of sharable content? See Whiteboard, Application, Files, Polling, or Breakout Groups for more information on using these features.
