If you still need to know how to use Collaborate, see the instructions below!
Sharing a Whiteboard in Collaborate
To share content in Collaborate you should have already inserted the tool link in the content area and created a session. Once you have done that you can join a session. In the session, you can share content.
Opening a Blank Whiteboard
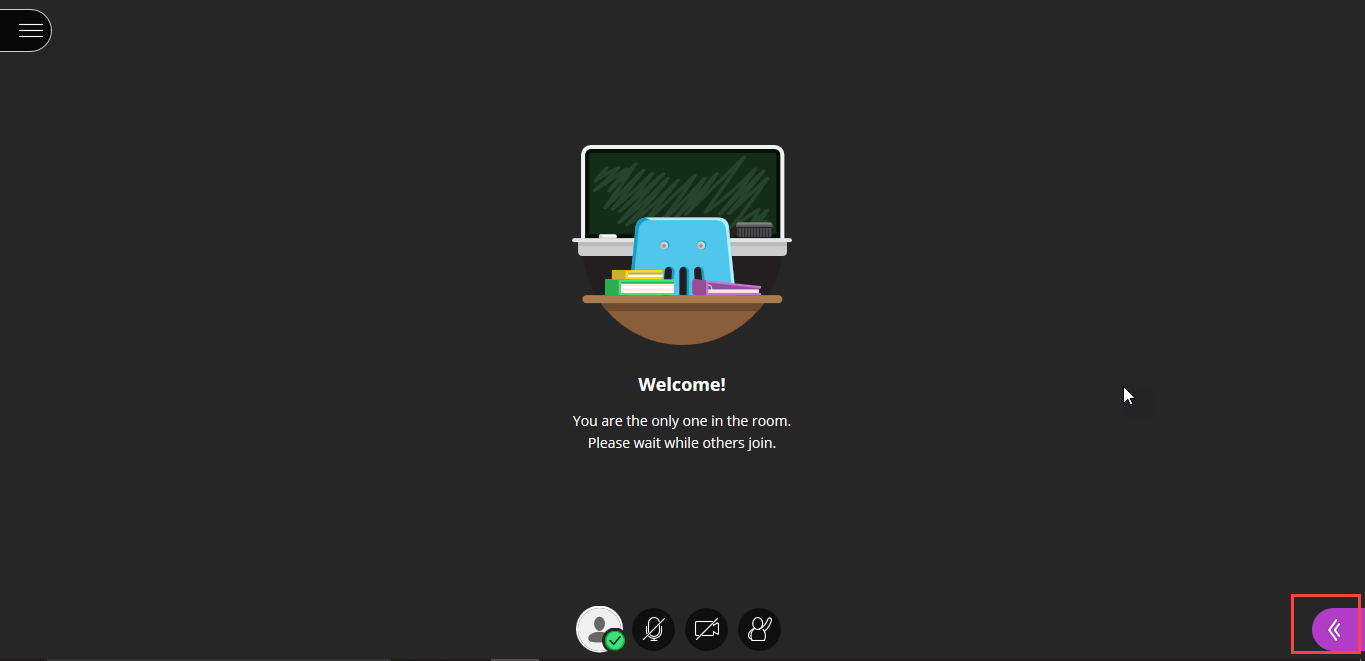
- Click on the purple tab at the bottom right of the session screen to open the “Collaborate Menu.”
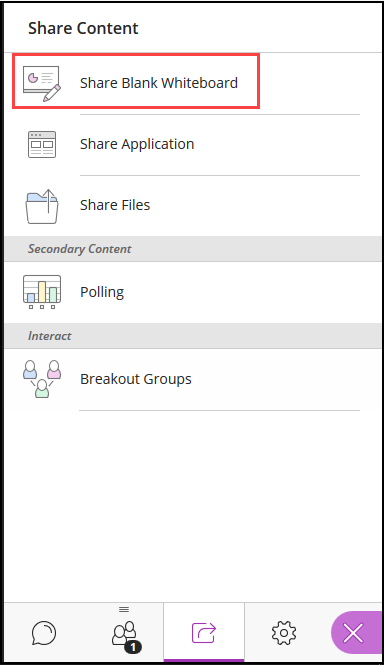
- At the bottom of the Collaborate Menu, click the third icon from the left to open the Share Content page.

- Click Share Blank Whiteboard.
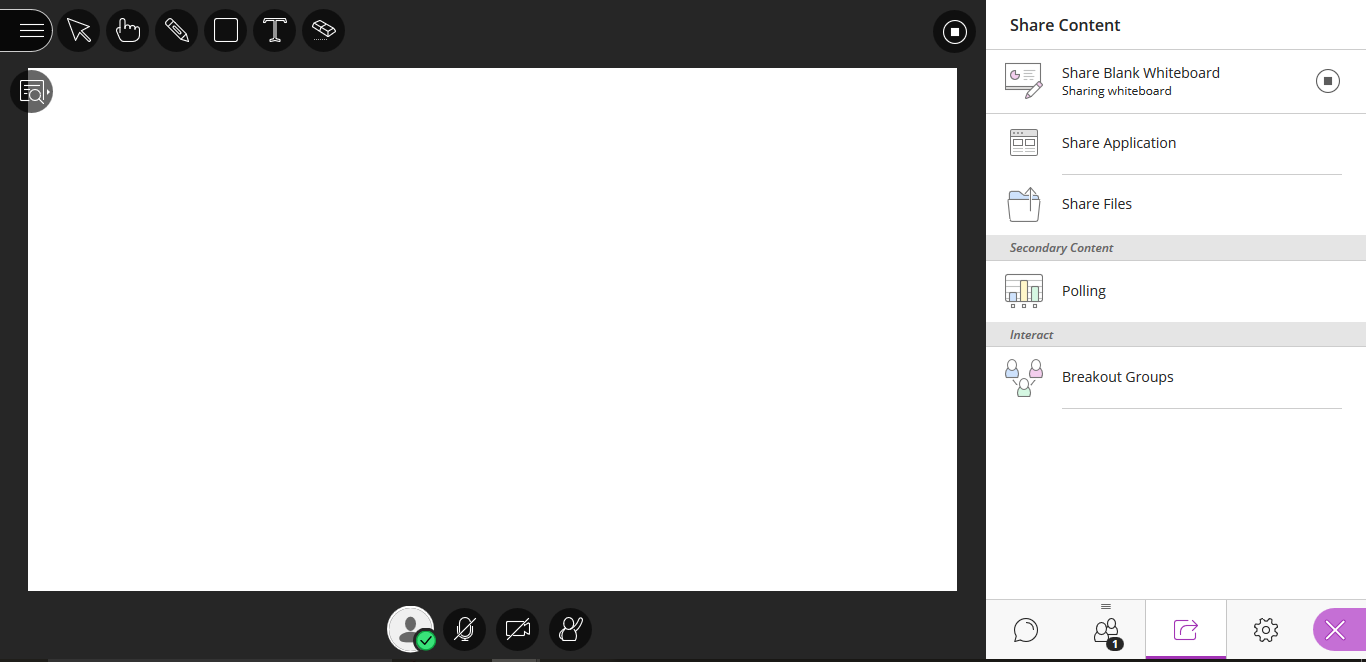
- You should now have a blank whiteboard that is visible to all of the participants in the session.
Features of the Whiteboard
There is a row of icons at the top of the page that allows you to do various things with the whiteboard.
- Select icon: allows you to select things.
- Pointer tool: allows you to point to objects with a finger tool.
- Pencil: allows you to draw on the whiteboard.
- Shape tool: allows you to select a shape (rectangle, ellipse, or line) to insert on the whiteboard.
- Text tool: allows you to type on the screen.
- Clear tool: clears the entire screen.
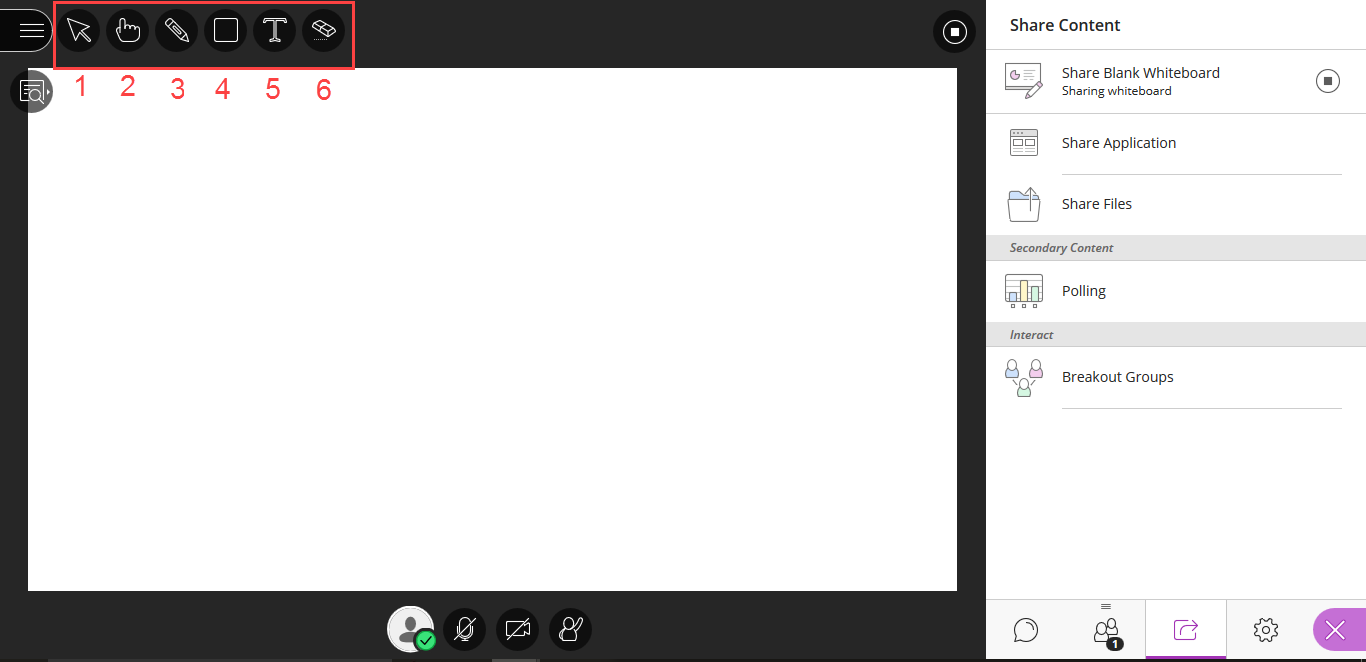
Note: a color selection icon appears to the left of the Clear icon when you click the Pencil icon, the Shape icon, or the Text icon which allows you to change the color when inserting these features
 .
.
Viewing the Whiteboard Controls and Stopping the Whiteboard Sharing
- To view the Whiteboard controls click the second icon down from the top left of the page. It looks like a page with a magnifying glass.

- The four controls are the Zoom In and Zoom out icons, the “Fit Screen” icon, and the “actual size” icon. These allow you to adjust the way that the whiteboard appears to users.
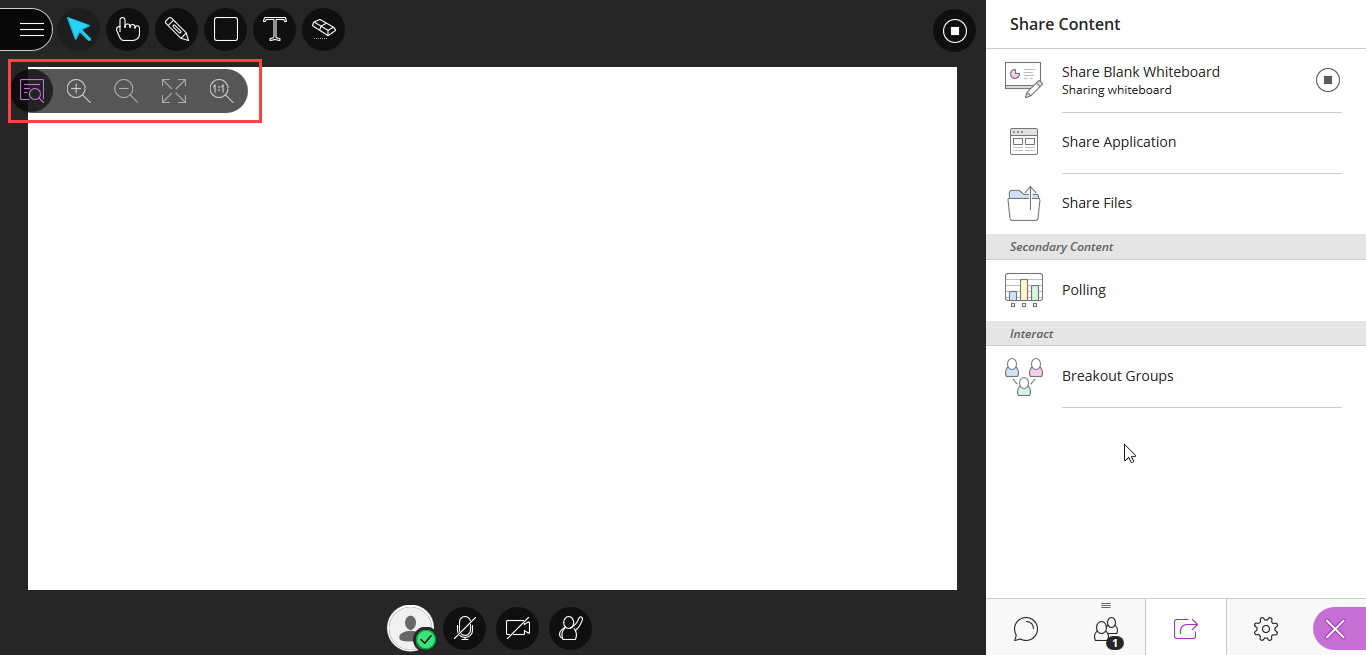
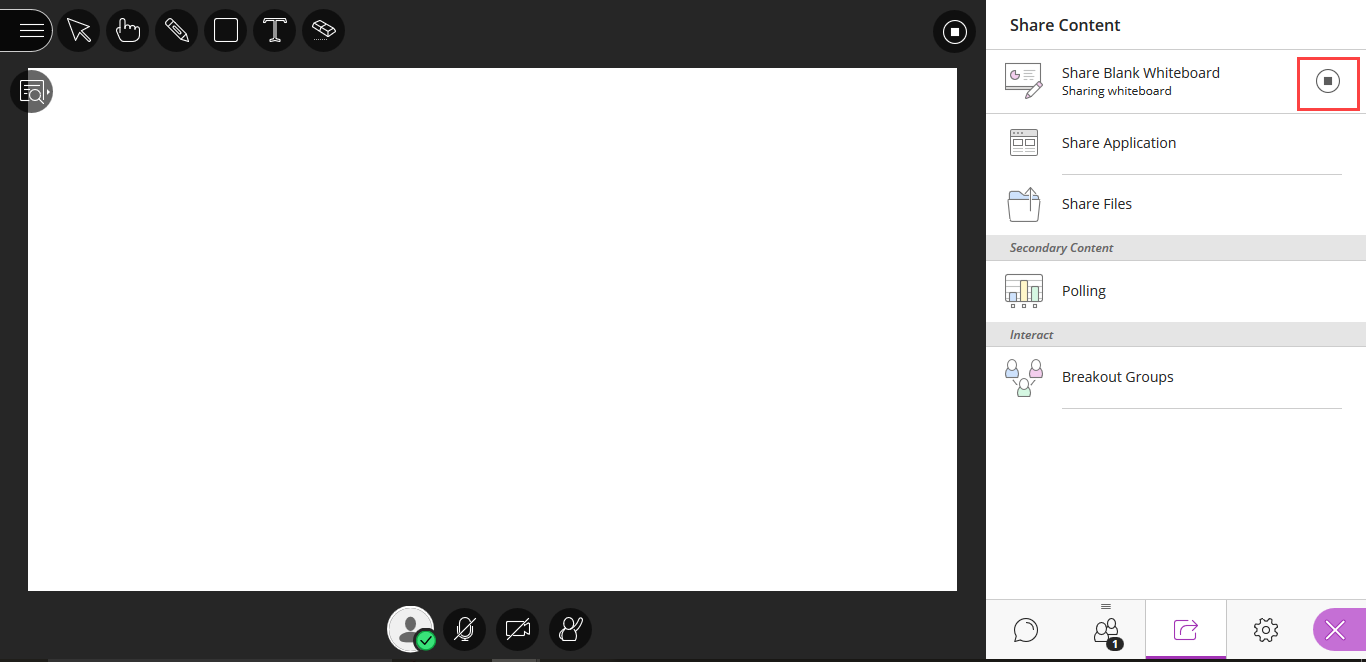
- To stop sharing the whiteboard, click the button next to “Share Blank Whiteboard” in the Collaborate Menu.