VoiceThreads are assignments where you create a video or audio file and your instructor or other students can respond to it with video and audio of their own! Learn how you can upload, comment, and successfully submit your VoiceThread Assignment here!
Use these navigation links to jump to each section:
- Opening a VoiceThread Assignment
- Adding Media to VoiceThread
- VoiceThread Controls
- Commenting
- Comment on another user’s VoiceThread
Opening a VoiceThread Assignment
Note: You should have any PowerPoint slides or other media required saved and ready to go before you start!
- Log into Blackboard at learn.uark.edu with your UARK email and password.
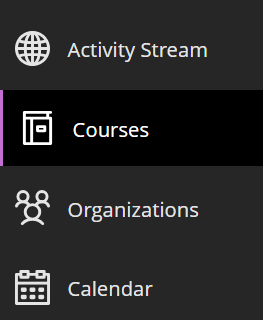
- Click the Courses tab in the left-hand navigation panel, then click the Course Name in which the VoiceThread Assignment is due.

- Click on the VoiceThread Assignment name in your course. This will open a link to the assignment.
Note: VoiceThread Assignments will have the “vt” icon next to the name.
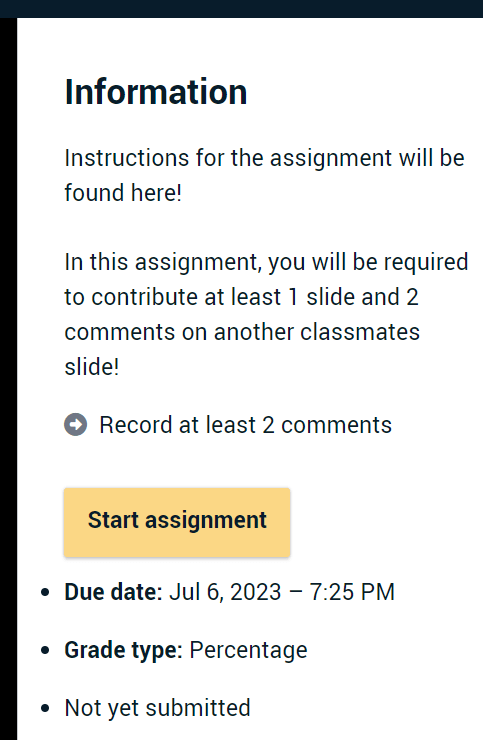
 - Read the instructions and, when you are ready, click Start assignment. Be sure to note the number of comments and slides that are required for this assignment as well as the Due Date.

Adding Media to VoiceThread
Here is where you will upload your media! Most VoiceThreads start with a PowerPoint Slideshow, but you can use other media types for your slide! Check out Creating a VoiceThread.
NOTE: Recording Audio does not count toward the required comments required for an assignment.
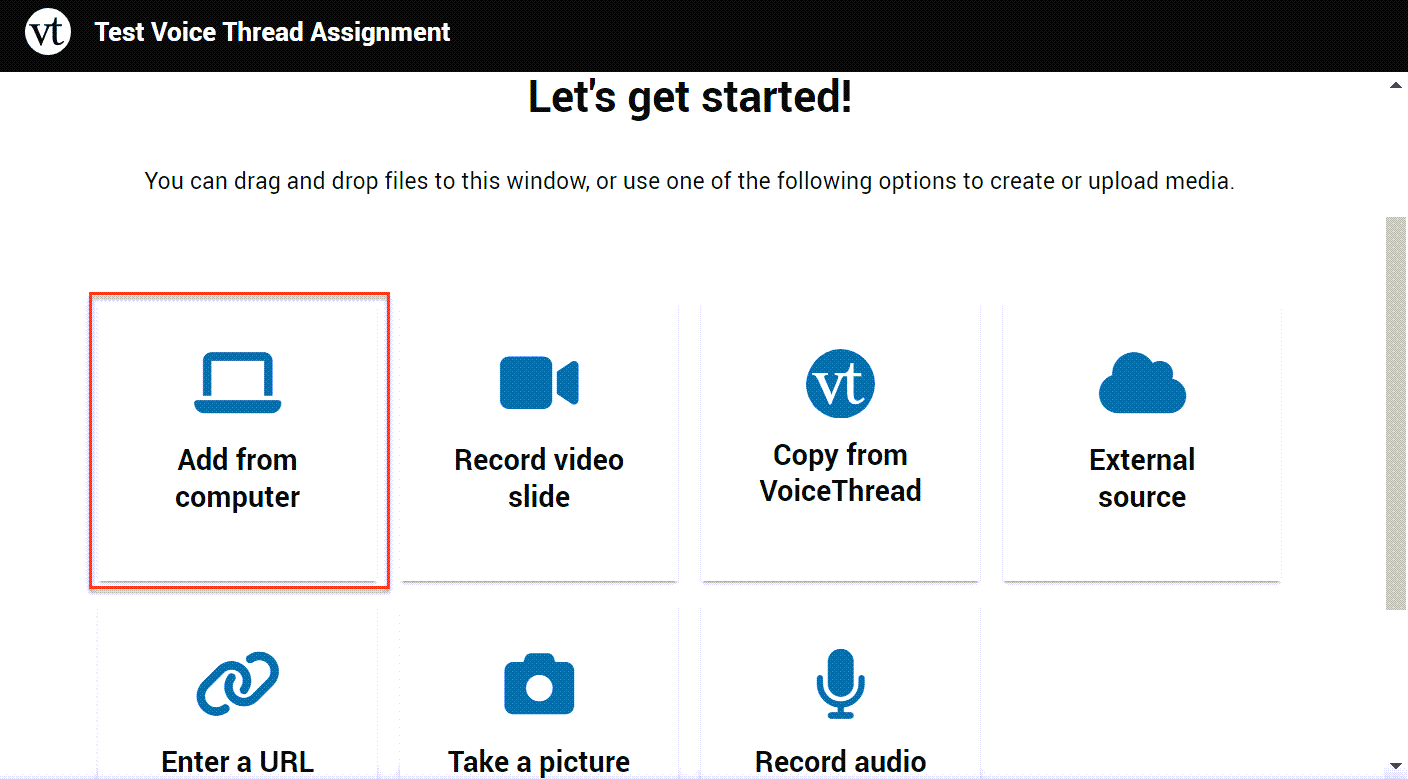
- To add a PowerPoint or other media from your computer, click Add from computer.

- Browse to the location of your file and click Open. This will upload the file into VoiceThread
Note: To add more files/slides/media, you can click the + Add media button!

You can also choose to Record a video slide, upload from an External source like Kaltura or Google Drive, Enter a URL, Take a picture, Record audio, or Copy from a VoiceThread you’ve already made! - Once you’ve uploaded or linked all of your media, click Continue in the bottom left corner.

VoiceThread Controls

- Click on the “+” chat bubble to post a comment
- Use the left/right arrows or open the slide gallery to navigate to the slide where you want to post a comment.

With the slide gallery expanded Click on the “+” to add additional media or click on the three dots to edit or delete a slide.

- Zoom in or out to view your content
Commenting
When you are ready to post a comment Click on the “+” chat bubble and select your comment type

- Leave a text comment
- Leave a voice comment with computer audio
- Leave a video comment
- Upload a file as a comment
Selecting a video comment (3) will countdown and start the recording.

As you are talking you have the option to:
- Use the drawing tool
- Stop the recording
- Watch your elapsed recording time.
Now you can play back your comment before posting.

- Click the arrow to preview your comment
- Click Cancel or Save to start over or post your comment
- Click Record More to add on to your comment
Click Save and your comment will be posted on the slide.
When you reach the required number of comments click SUBMIT. You can also close the VoiceThread window and return at a later date to submit. Your comments will be saved.
NOTE: If the SUBMIT button is not a solid yellow it means you have not met the assignment criteria.

If the instructor allows resubmission, you can return before the due date and Click Withdraw Submission, add more comments, and Click Resubmit to post.

Comment on another user’s VoiceThread
Click on the VoiceThread Assignment name in your course. This will open a link to the assignment.
Click on Open Student Gallery

You will see your classmate’s VoiceThread thumbnails.

Click on a thumbnail and play the VoiceThread. You can reply to your classmate post.
Reply to another user
- Select the user’s comment
- Click Reply

Select a Reply option

The recording will start.
- As you are making your comments you can select the Drawing Tool if needed.
- When you are finished, Select Stop Recording

Review your reply

- Click the arrow to preview your reply
- Click Cancel or Save to start over or post your reply
- Click Record More to add on to your reply
The conversation will show original comments as squares and replies are round.

