
Use the Screenshot app
Requires macOS Mojave 10.14 or later

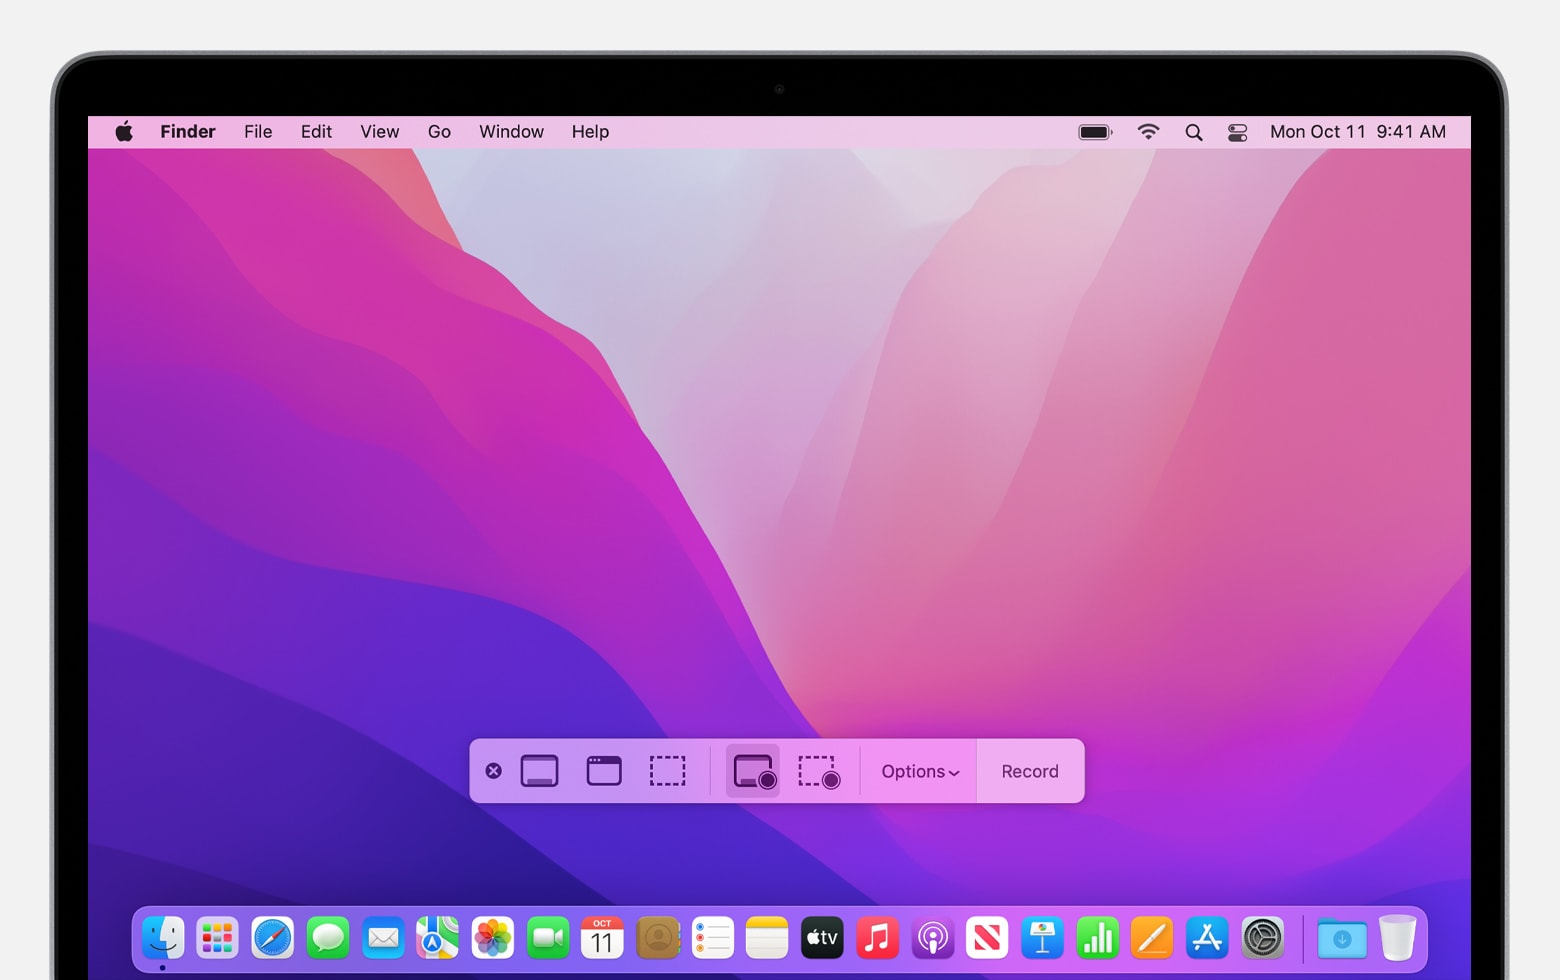
- Open the Screenshot app by pressing these three keys together: Shift, Command, and 5.
- You should see an onscreen toolbar with three controls for capturing a still image of your screen, followed by these two controls for recording a video of the screen:
-
Record Entire ScreenRecord Selected Portion. You can adjust the selected portion by dragging its borders with your mouse or trackpad.
-
- Before starting your recording, you can click Options in the toolbar to change the recording settings:
-
To record your voice or other audio with the screen recording, choose a microphone.
-
To show a black circle around your pointer when you click, choose Show Mouse Clicks.
-
To set a recording timer, choose the number of seconds to wait before recording begins after you click Record.
-
To change where the recording will be saved after you stop recording, choose a different “Save to” location. By default, recordings are saved to your desktop.
-
- To start recording, click the Record button in the Screenshot toolbar.
- To stop recording, click the Stop button
 in the menu bar, or press Command-Control-Esc (Escape).
 - When you see a thumbnail of the recording in the corner of your screen, click to edit the recording. Or wait for the recording to save to your desktop.
Learn more about using the Screenshot app
Use QuickTime Player
- Open QuickTime Player from your Applications folder.
- From the menu bar, click File > New Screen Recording. Or press Control-Command-N on your keyboard.
NOTE: If you see the onscreen controls described in the previous section, screen recording on your Mac is performed by the Screenshot app. Follow the steps in the previous section. - Before starting your recording, you can click the drop-down arrow next to the Record button
 to change the recording settings:

- To record your voice or other audio with the screen recording, choose a microphone. To monitor that audio during recording, adjust the volume slider. If you get audio feedback, lower the volume or use headphones with a microphone.
- To show a black circle around your pointer when you click, choose Show Mouse Clicks in Recording.
- To start recording, click the Record button and then take one of these actions:
- Click anywhere on the screen to begin recording the entire screen.
- Or click and drag to select an area to record, then click Start Recording within that area.
- To stop recording, click the Stop button in the menu bar, or press Command-Control-Esc (Escape) on your keyboard.
- After you stop recording, QuickTime Player automatically opens the recording. You can now play, edit, or share the recording.
Learn more about using QuickTime Player
From here, you can upload your video to Kaltura to submit to your assignment!