

If you would like for your instructor to see a photo, image, or graphic, it is a good idea to have the image displayed right in the Blackboard content instead of requiring them to click on a link to download it. Here’s how you can do just that!
Upload an image from your computer to any Blackboard course
- Log in to Blackboard and navigate to where you would like to add the images, such as in a discussion or an assignment.
- In the Message area, click on the Attachment icon, which looks like a paper clip
 to add an attachment.
 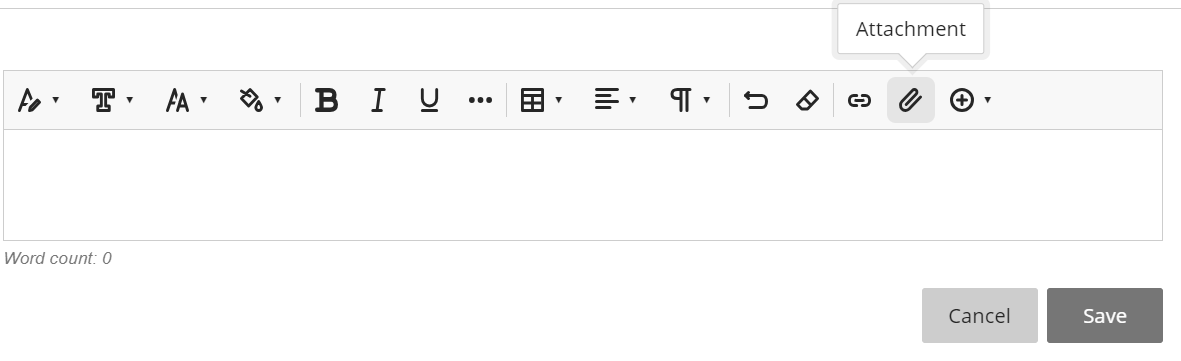 You can also simply drag and drop your image from a location on your computer into the text area!
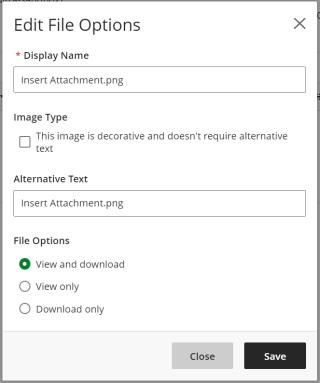
- From here, you can change the image name, add an Alternative Text description for accessibility, and determine what kind of access you want others to have with your image.
- Check to see if your image is displaying correctly. Where applicable, you’ll want to save your content as a draft until you’re ready to submit or publish.
NOTE: You may need to resize your image and re-add it. As an option outside of Blackboard, Web Resizer is an online tool that lets you optimize the size of images. It also will let you crop the image, add a border, adjust the image brightness, and several other editing features. - When you are happy with the way your content looks, click Save, Submit, or Respond to save the changes, and you’re done!
Uploading an image from the web to any Blackboard course:
Note: Using this method will not allow you to edit image options like accessibility or image title.
- Log in to Blackboard and navigate to where you would like to add the image, such as in a discussion or an assignment.
- In another tab or window, navigate to the image from the web you want to use and right-click (control-click for Mac users) on the image. Select the option Copy image address. This will save the image’s URL address to your clipboard.

- In the Message area of your Blackboard course content, click the Insert Content button which looks like a plus sign (+) and click Image. This will bring up a new window where we will paste the URL we just copied.

- Right-click (control-click for Mac users) the field for Image URL and select Paste. Alternatively, you can click in the field and press Ctrl + v (Command + V for Mac) at the same time to paste.

- Click Insert.
NOTE: Much like the previous method, you’ll want to check to see if your image is displaying correctly. If the web image is not optimized or the size does not fit your needs, you may need to either choose a different image to use, or download the image for editing and upload using the previous method. - When you are happy with the way your item looks, click Save, Submit, or Respond to save the changes to your Blackboard content, and you’re done!
PLEASE NOTE: If the image or graphic you added is taking a long time to load when you view it, some people may not be able to see it if they are viewing your course on slower internet connections or mobile devices. Click here for instructions on “optimizing” and resizing your images for the web.